To create a new contact in Zuriey CRM, follow these steps:
Step 1: Access the Contracts Section
- Click on Customers in the Menu tab and select Contracts.
Step 2: Create a New Contact
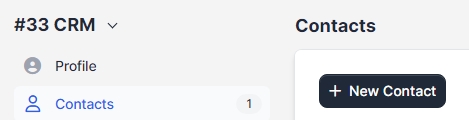
- Click on the New Contact button to begin the creation process.
Step 3: Fill in Contact Details
Complete the following fields:
- First Name: Enter the contact's first name.
- Last Name: Enter the contact's last name.
- Position: Specify the contact's position within the company.
- Email: Provide an email address for login and communication within Zuriey CRM.
- Phone: Enter the contact's phone number.
- Password: Set a password for the contact (if applicable).
- Primary Contact: Check this box to designate this contact as the primary contact. If this is the first contact for this customer, this field will be automatically checked, and you will not be able to disable it.
- Do Not Send Welcome Email: Check this box if you do not want to send a welcome email to this contact. This option can be modified in Setup -> Email Templates -> New Customer Added/Registered (Welcome Email). If you disable this email template, a welcome email will not be sent, even if this field is not checked.
- Send Set New Password Email: If checked, an email will be sent with a link for the contact to set a new password. Note: The link will be valid for 48 hours.
- Permissions: Default contact permissions can be assigned from Setup -> Settings -> Customers. If the contact does not have any permissions assigned, menu items in the customer area will be hidden. Adjust the contact permissions according to your needs, as these permissions define which modules customers can access.
Step 4: Save the Contact
Once you have filled in all necessary information, click Save to complete the process.By following these steps, you can efficiently manage your contacts within Zuriey CRM, ensuring that all relevant information is accurately recorded and permissions are appropriately set.